
October 10, 2026



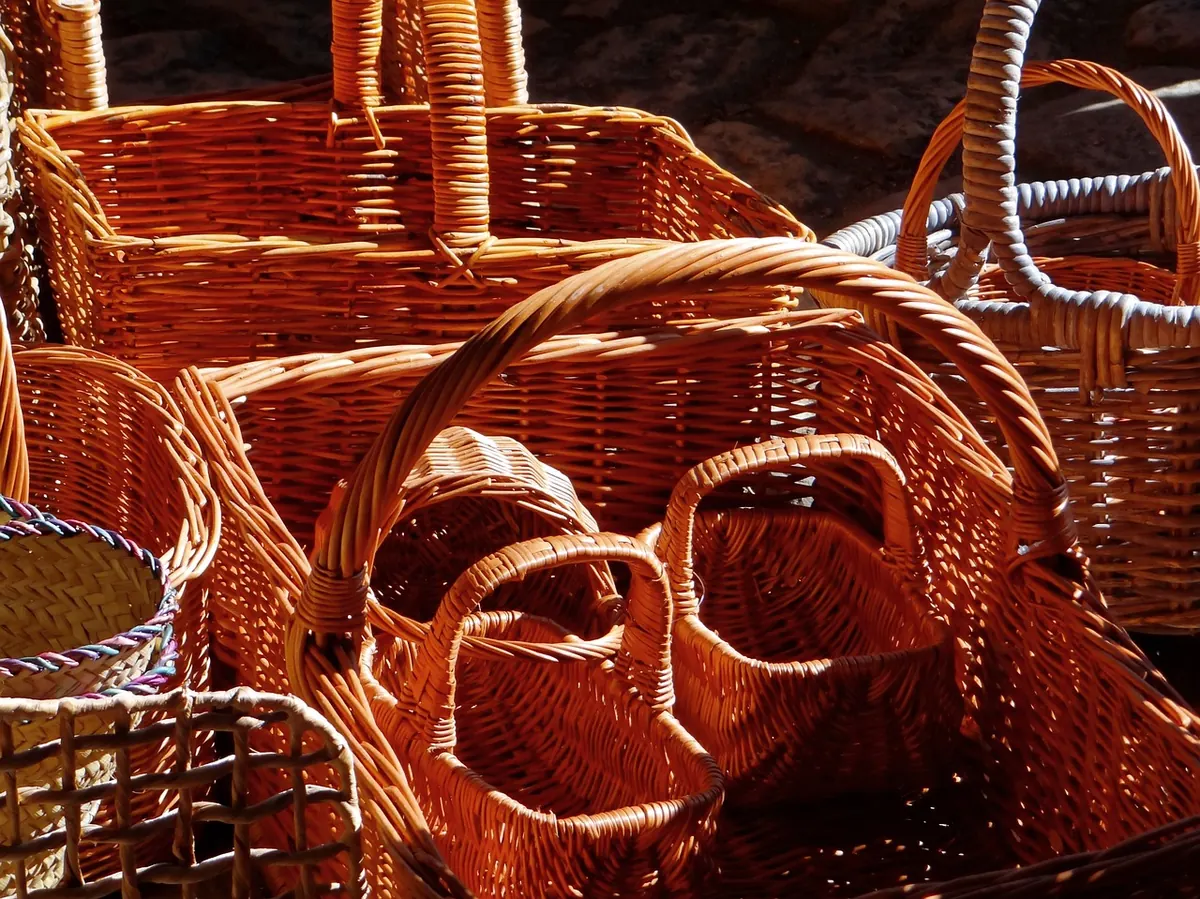
A willow bed earns its keep. Plant a few dozen cuttings in early spring and within two or three winters you can be cutting your own rods: long, whippy stems that bend almost double without cracking. Basketry is the classic use for them, and it asks for very little — sharp secateurs, a water butt and some patience.
Not every willow makes a good basket. Weeping willow and goat willow are brittle and short-grained; they snap where you want them to curve. The traditional basketry willows are shrubby species grown as osiers, cut back to the stool every winter.
Named varieties worth asking for include 'Black Maul', 'Dickey Meadows', 'Harrison's' and 'Flanders Red'. Buy setts from a specialist willow nursery that can tell you which ones suit your soil and how wet your site is.
Willow roots from cuttings, or setts — lengths of dormant rod roughly 20–30cm long. Push them into prepared, weed-free ground in early spring so about 15cm stays above the surface, spacing plants 45cm apart with 45–60cm between rows. No feeding is needed; willow is greedy enough on its own.
Give the bed sun and moisture, but keep it well away from drains, soakaways, pipes and foundations. Willow roots travel a long way looking for water, and they will find it.
Cut the new growth back to ground level the following winter. It feels brutal, but it turns each sett into a stool that throws up half a dozen or more rods instead of one. After that, cut every winter without fail.
Rods are cut while the plant is dormant: after leaf fall and before the buds break, usually from late November to late February, or into March in colder spots. Cut cleanly close to the stool with sharp secateurs or a billhook, angling the cut slightly so rain runs off instead of sitting on the wood.
A rod is ready to cut when:
Sort as you cut — long, medium and short, thick and thin — and tie each grade into its own bundle with string.
Stand bundles upright or lay them flat in a dry, airy shed, off the floor and out of direct sun, with room for air to move around them. Rods dried slowly and evenly stay supple for years. Label each bundle with the variety and the year; anonymous rods in March are a nuisance when you are trying to match thicknesses.
Brown willow keeps its bark. Buff willow has been boiled and peeled to a pale, smooth finish, which is why it soaks so much faster. You can strip bark by hand from rods cut in spring when the sap is rising, but most growers buy buff rods ready-prepared.
Dry willow is brittle, so it has to be soaked back to supple. Brown willow needs a week or more fully submerged in a water butt or trough, weighed down with a brick so every rod stays under. Buff willow is ready in an hour or two. Go by feel rather than the clock: bend a rod round your finger and it is ready when it curves smoothly without the bark cracking.
Then let it mellow. Drain the rods, wrap them in a damp cloth or a plastic bag and leave overnight so the moisture spreads evenly through the wood. Weave the next day if you can. Keep a damp cloth over the part of the basket you are not working on, and spray it lightly if it starts to dry and stiffen.
A flat oblong tray is the gentlest introduction. Set out eight or ten stakes, then weave with randing — one rod at a time, over and under each stake in turn. It teaches the rhythm of over-and-under without the complications of a three-dimensional shape.
The traditional route: an eight-rod wale base, stakes turned up, an upsett (a few rows of waling to hold the turn neatly), then randing to the height you want, finished with a border. Waling uses three rods worked together, spiralling round the basket; pairing uses two.
Soak rods well, bend them into a circle and bind the ends with a thin rod for a simple wreath. For a plant support, push six or eight rods into the soil in a circle and tie them at the top — a job you can do with freshly cut rods in spring, no soaking required.
First baskets are usually lumpy, and that is fine. Keep the first one anyway. Grow more willow than you think you need: a fair share of rods will be too thick, too short or kinked, and having plenty in reserve removes the pressure to make
Photo: 27707 / Pixabay
Your guide to growing and using willow.
Copyright © 2026 Willow Guide. All rights reserved. Willow Guide.